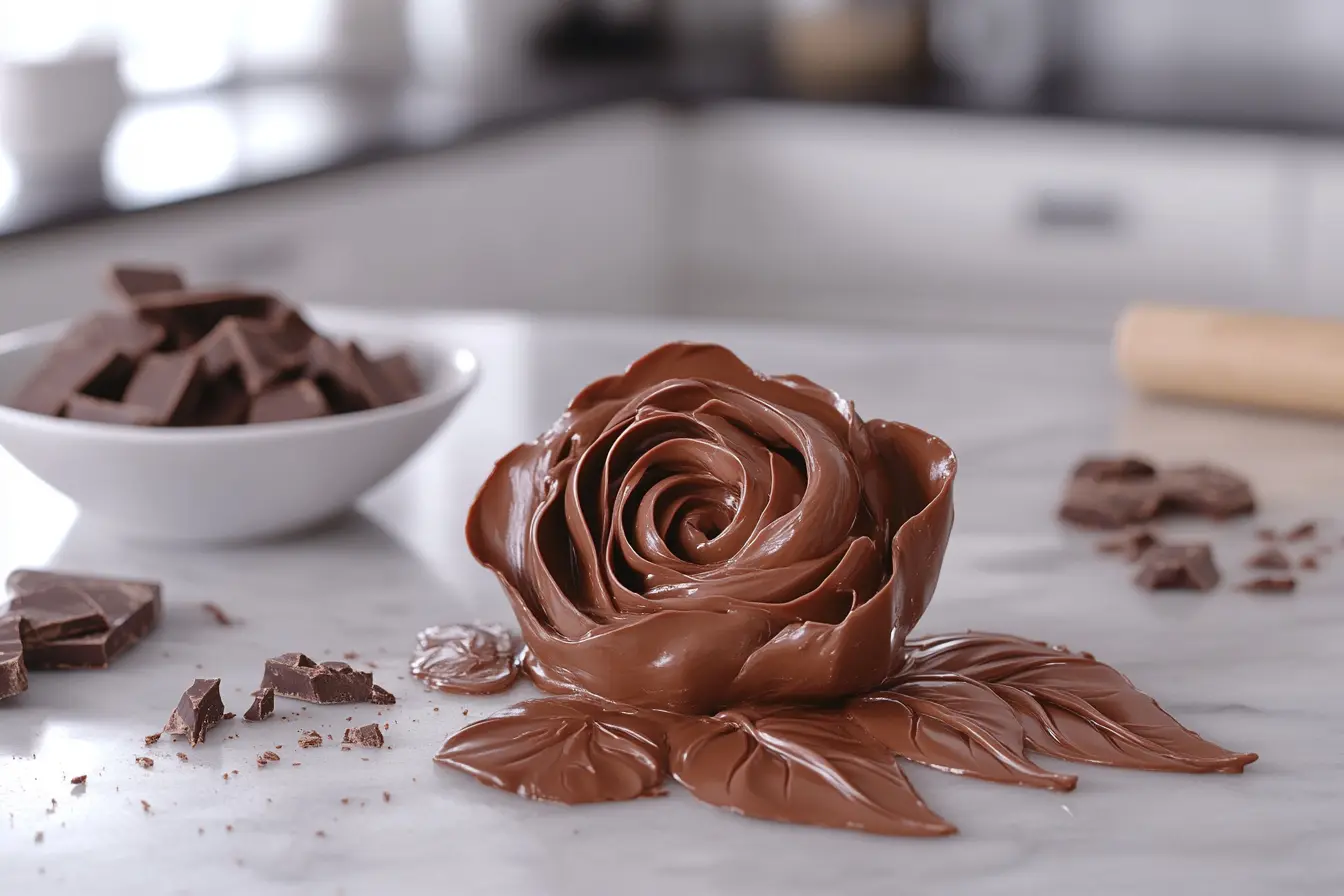
Creating stunning edible decorations is simple with modeling chocolate. This medium combines rich chocolate flavor with a pliable texture. It’s perfect for sculpting intricate designs. In this guide, we’ll walk you through everything you need to know to make your own modeling chocolate at home.
What is Modeling Chocolate?
Modeling chocolate blends melted chocolate and corn syrup to create a flexible, edible material perfect for cake decorating. It tastes more natural than fondant but is just as easy to sculpt. For a detailed recipe, visit Modeling Chocolate Recipe by King Arthur Baking.
For more tips, visit Modeling Chocolate 101 by King Arthur Baking. This guide is packed with advice for decorators at all levels.
Ingredients You Need
To make modeling chocolate, you’ll need:
- Chocolate: Dark, milk, or white, depending on your preference.
- Corn Syrup: The key to achieving the flexible texture.
- Optional Additions: Gel-based food coloring or flavor extracts.
High-quality ingredients improve both the texture and flavor of modeling chocolate. They make it easier to work with and more enjoyable to eat. Learn more about ingredient quality at Modeling Chocolate 101 by King Arthur Baking.
A Complete Tutorial on Crafting Modeling Chocolate
1. Melt the Chocolate
- Double Boiler Method: Place chopped chocolate in a heat-safe bowl over a pot of simmering water. Stir constantly to avoid scorching.
- Microwave Method: Heat the chocolate in 20-second intervals, stirring in between, until smooth.
2. Add Corn Syrup
- Pour the corn syrup into the melted chocolate while stirring constantly. Add the syrup in a thin, steady stream to prevent clumping. The mixture thickens and forms a dough-like consistency as you stir.
3. Rest the Mixture
- Wrap the mixture in plastic wrap and let it rest at room temperature for 24 hours.
- Resting stabilizes the texture, making it easier to work with.
Techniques for Using Modeling Chocolate
Once ready, modeling chocolate can be used for:
- Sculpting Figures: Create edible decorations for cakes and desserts.
- Cutting Shapes: Roll out the chocolate and use cutters for precision shapes.
- Making Flowers: Shape delicate petals for lifelike blooms.
Tips for Success
- Work in a cool, dry environment to prevent the chocolate from melting.
- Dust your hands and tools with cornstarch to avoid sticking.
- Knead the chocolate briefly before use to improve flexibility.
Troubleshooting Common Issues
- Too Soft: Place the mixture in the fridge for a few minutes to firm up.
- Too Hard: Knead small amounts of shortening into the chocolate to restore flexibility. Shortening softens the mixture by adding moisture, making it easier to work with. Begin with half a teaspoon, adding more if needed, while kneading to reach the desired texture.
FAQs
Can I Use Any Chocolate for Modeling Chocolate?
Not all chocolates are suitable. Avoid compound chocolates, as they can affect texture.
How Do I Store Modeling Chocolate?
Wrap it tightly in plastic wrap and store it in an airtight container at room temperature for up to two weeks.
Can I Color Modeling Chocolate?
Yes! Use gel-based food coloring to avoid altering the texture.
What’s the Best Way to Prevent Sticking?
Dust your work surface and tools lightly with cornstarch. This prevents the modeling chocolate from sticking without compromising its texture.
How Do I Avoid Overheating the Chocolate?
When melting the chocolate, maintain low heat and stir frequently. Overheated chocolate can become grainy and lose its smooth texture. Use a thermometer to ensure it stays below 115°F (46°C).
Advanced Techniques for Using Modeling Chocolate
1. Blending Colors
Combine different shades of modeling chocolate to create custom colors. Knead small portions together until the colors are evenly distributed. This method is ideal for creating gradient effects or unique hues.
2. Layering Textures
Use textured mats or tools to add intricate designs to your modeling chocolate. Gently press the mat onto rolled-out chocolate to imprint patterns that mimic fabric, wood grain, or other textures.
3. Combining with Fondant
For a unique look, layer modeling chocolate over fondant. The chocolate provides a rich flavor, while the fondant adds structural support for larger decorations.
Storage Tips for Long-Term Use
If you plan to keep modeling chocolate for an extended period:
- Store it in a cool, dark place away from direct sunlight.
- Avoid refrigeration unless necessary, as condensation can affect the texture.
- For freezing, wrap the chocolate tightly in plastic wrap and place it in an airtight container. Thaw at room temperature before use to prevent cracking.
Creative Applications
Let your imagination run wild with modeling chocolate projects:
- Themed Cakes: Use the chocolate to craft toppers for birthday, wedding, or holiday cakes.
- Cupcake Toppers: Shape miniature designs for personalized cupcake decorations.
- Edible Sculptures: Build elaborate centerpieces for special occasions.
Pro Tips from Experts
- Use Gloves: Wearing food-safe gloves minimizes fingerprints and keeps the chocolate pristine.
- Thin Layers: When layering, roll the modeling chocolate as thin as possible for seamless coverage.
- Practice: Like any craft, mastering modeling chocolate takes time. Start with simple shapes and progress to more complex designs.
Conclusion
Modeling chocolate is a delightful medium for creating edible art. With just a few ingredients and simple steps, you can elevate your cake-decorating game. Start experimenting today, and let your creativity shine! Whether you’re a professional decorator or a home baker, modeling chocolate opens up endless possibilities for artistic expression.
